There’s nothing quite like seeing your motorcycle gleaming in the sunlight, its sleek fairings giving it that aggressive, polished look. But what happens when those same fairings take a hit? Maybe you dropped your bike in the garage, had a minor accident, or simply noticed the wear and tear that comes from years on the road. Scratches, cracks, and missing pieces can make even the best bikes look neglected.
The good news? You don’t need to buy brand-new motorcycle fairings to get your bike looking fresh again. With the right approach, you can restore them yourself, saving money while keeping your ride in top shape. Whether you’re dealing with minor scratches or serious damage, this guide will walk you through the process of bringing your fairings back to life.
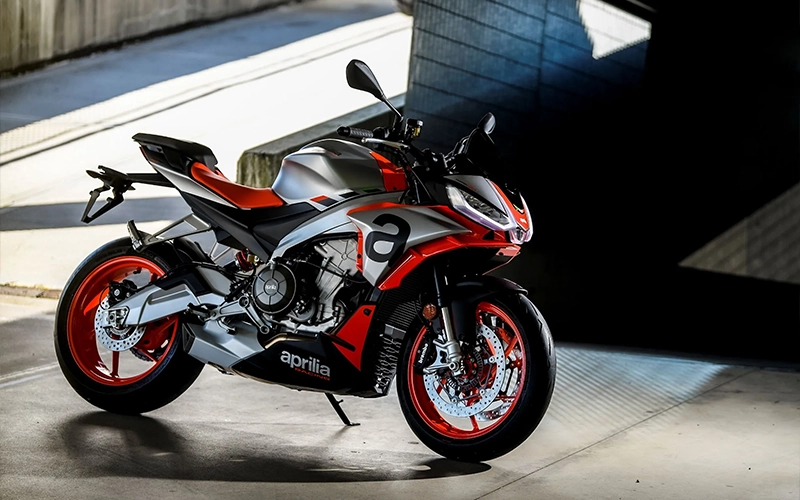
Why Motorcycle Fairings Matter
Fairings do more than just make your bike look good. They play a crucial role in aerodynamics, helping to reduce wind resistance and improve fuel efficiency. They also offer protection, shielding your engine and key components from road debris, rain, and other environmental hazards.
For sportbikes and touring motorcycles, fairings are especially important. They help direct airflow around the bike, reducing drag and making long rides more comfortable. So, keeping them in good condition isn’t just about aesthetics—it’s about performance and durability, too.
Assessing the Damage: How Bad Is It?
Before diving into repairs, take a moment to assess the extent of the damage. This will help you determine the best approach.
- Surface Scratches & Scuffs: Minor cosmetic damage that can often be buffed out or repainted.
- Deep Scratches & Gouges: Requires sanding, filling, and repainting for a smooth finish.
- Cracks & Breaks: Needs plastic welding or reinforcement to restore strength.
- Missing Pieces: May require fabrication of replacement sections or purchasing new fairing parts.
Each type of damage requires a different repair method, so let’s go through the steps to bring your fairings back to factory condition.
Step-by-Step Fairing Restoration Process
Fixing Minor Scratches and Scuffs
Scratches and scuffs are the most common types of fairing damage, but they’re also the easiest to fix. If your fairings have minor blemishes, you can restore them with a few simple steps.
- Clean the Surface: Before doing anything, wash your fairings thoroughly with soapy water to remove dirt and grease.
- Buff Out Light Scratches: Use a scratch remover compound and a microfiber cloth to gently buff out the marks.
- Wet Sand for Deeper Scratches: If scratches are deeper, wet sand the area using 1500-2000 grit sandpaper until smooth.
- Polish & Protect: Apply a plastic or paint polish to bring back the shine and protect against further damage.
If the scratches are too deep to buff out, you’ll need to move on to filling and repainting.
Repairing Deep Scratches and Gouges
If the damage has gone beyond the surface and left noticeable grooves in the plastic, a more detailed approach is needed.
- Sand the Area: Start with 400-600 grit sandpaper to smooth out the edges of the scratch.
- Apply Plastic Filler: Use a fairing-specific filler to even out the surface. Let it dry completely.
- Sand Again: Use finer grit sandpaper (800-1000) to blend the filler with the surrounding area.
- Prime & Paint: Apply a plastic primer, then use color-matched spray paint for an even finish.
- Clear Coat for Protection: Finish with a clear coat to seal the paint and add a glossy shine.
Matching the paint perfectly can be tricky, but using the correct primer and clear coat helps blend it seamlessly with the rest of your fairing.
Fixing Cracks with Plastic Welding
A cracked fairing doesn’t mean it’s time to replace it. With plastic welding, you can restore its strength and functionality.
- Drill Small Holes: To prevent the crack from spreading, drill tiny holes at each end of the crack.
- Plastic Weld the Crack: Use a soldering iron or plastic welding kit to fuse the plastic back together.
- Reinforce with Mesh or Fiberglass: Apply a reinforcing mesh on the inside of the fairing to add strength.
- Fill and Smooth: Use filler if needed, then sand the area smooth.
- Paint & Finish: Follow the painting steps to ensure a professional finish.
Plastic welding is one of the most durable ways to fix cracked motorcycle fairings, making them almost as strong as new.
Replacing or Fabricating Missing Fairing Sections
If a piece of your fairing has broken off entirely, you have two choices—find a used replacement part or fabricate a new section yourself.
- Finding a Replacement: Check Aliwheels for aftermarket or OEM motorcycle fairings that match your bike.
- Fabricating a New Section: Use ABS plastic sheets, cut them to shape, and bond them to the existing fairing using plastic welding or strong adhesives.
Once the piece is secured, follow the sanding, priming, and painting steps to blend it in with the rest of the fairing.
Painting and Refinishing Your Fairings
Even the best repair work won’t look great unless the paint job is seamless. Whether you’re fixing small sections or repainting the entire fairing, following the right process will make a big difference.
- Prep the Surface: Clean thoroughly and sand the entire area for proper paint adhesion.
- Use a Plastic Adhesion Promoter: This ensures the paint sticks properly to the fairing.
- Apply Light Coats of Paint: Use thin, even layers of color-matched spray paint.
- Let Each Coat Dry Completely: Rushing this step can cause drips and an uneven finish.
- Finish with Clear Coat: This adds protection and gives the fairing a factory-like shine.
- Buff & Polish for a Final Touch: Once the paint has cured, a final buffing makes everything look flawless.
If you want a professional finish, consider using an automotive spray gun instead of regular spray cans.
Keeping Your Fairings in Top Condition
Now that you’ve put in the effort to restore your motorcycle fairings, the last thing you want is for them to get damaged again. Here are some tips to keep them looking new:
- Use a Protective Film: A clear protection film helps prevent scratches and chips.
- Invest in Frame Sliders: They absorb impact in case of a fall, keeping your fairings safe.
- Regular Cleaning & Waxing: Dirt and debris can wear down the paint over time, so keep your fairings clean.
- Park Smartly: Avoid tight spaces where your bike is at risk of being scratched by other vehicles.
Taking these precautions ensures your restored fairings stay in great shape for years to come.
Where to Find Quality Motorcycle Fairings
If your fairings are beyond repair or you just want a fresh look, check out Aliwheels. They offer a wide selection of motorcycle fairings for various models, ensuring a perfect fit and top-tier durability.
Final Thoughts
A scratched or cracked fairing doesn’t have to mean the end of your bike’s good looks. With the right repair techniques, you can restore your motorcycle fairings and get them looking as good as new. Whether you’re buffing out scratches, welding cracks, or giving your bike a fresh coat of paint, the key is patience and attention to detail.
So, roll up your sleeves and bring your bike back to life. With a little effort, you’ll have your motorcycle looking sharp and road-ready again in no time!
Share :
Facebook
Twitter
WhatsApp
Pinterest
Email