If you have a Honda CBR150R (2011-2020) and you are looking for ways to improve the performance and comfort of your bike, installing aftermarket Honda CBR150R Front Brake Levers is a simple yet effective way to do that. The upgrade is something the vast majority of people will want to do, regardless of whether you’re seeking better ergonomics, improved braking response, or simply a custom look. In this guide, we will show you how to go through the steps, what tools are needed, and what good practices are to get a smooth installation.
Tools and Materials Needed
Before you begin, gather the necessary tools and parts to ensure a hassle-free installation.
Required Tools:
- 10mm and 12mm wrenches
- Phillips screwdriver
- Allen keys (various sizes)
- Pliers
- Thread locker (optional, for extra security)
- Microfiber cloth (to prevent scratches)
- Lubricant (for smooth operation)
Parts Needed:
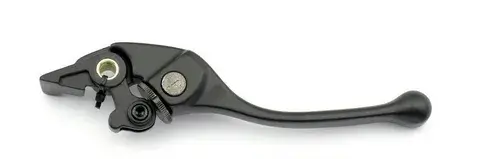
- Aftermarket brake lever (compatible with Honda CBR150R 2011-2020)
- Grease (to reduce wear and tear on the pivot bolt)
Step-by-Step Installation Guide
Prepare Your Motorcycle
Park your Honda CBR150R on a stable surface before starting. If there is one, use a paddock stand to keep the bike steady. Put the ignition off, and check that the handlebars are accessible.
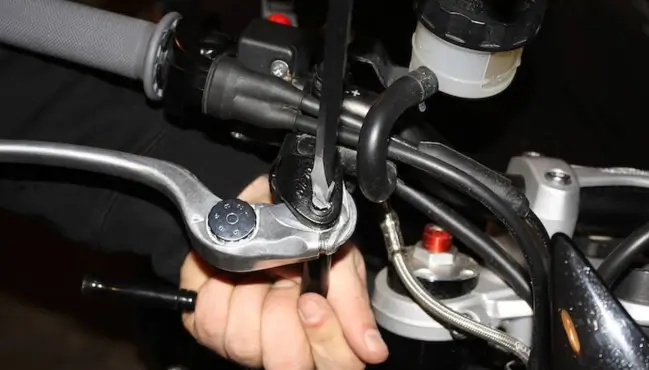
Remove the Stock Brake Lever
1. A pivot bolt and locknut underneath hold the front brake lever.
2. Loosen the pivot bolt: Loosen the nut with a 10mm wrench and hold the pivot bolt with an Allen key.
3. Take off the pivot bolt: After that, unscrew the pivot bolt and gently take it off.
4. Remove the stock lever: Gently push the stock brake lever free of its mounting point. Be careful, as the brake light switch will not get damaged.
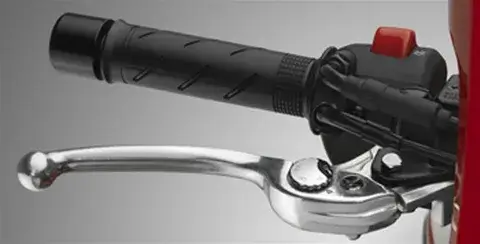
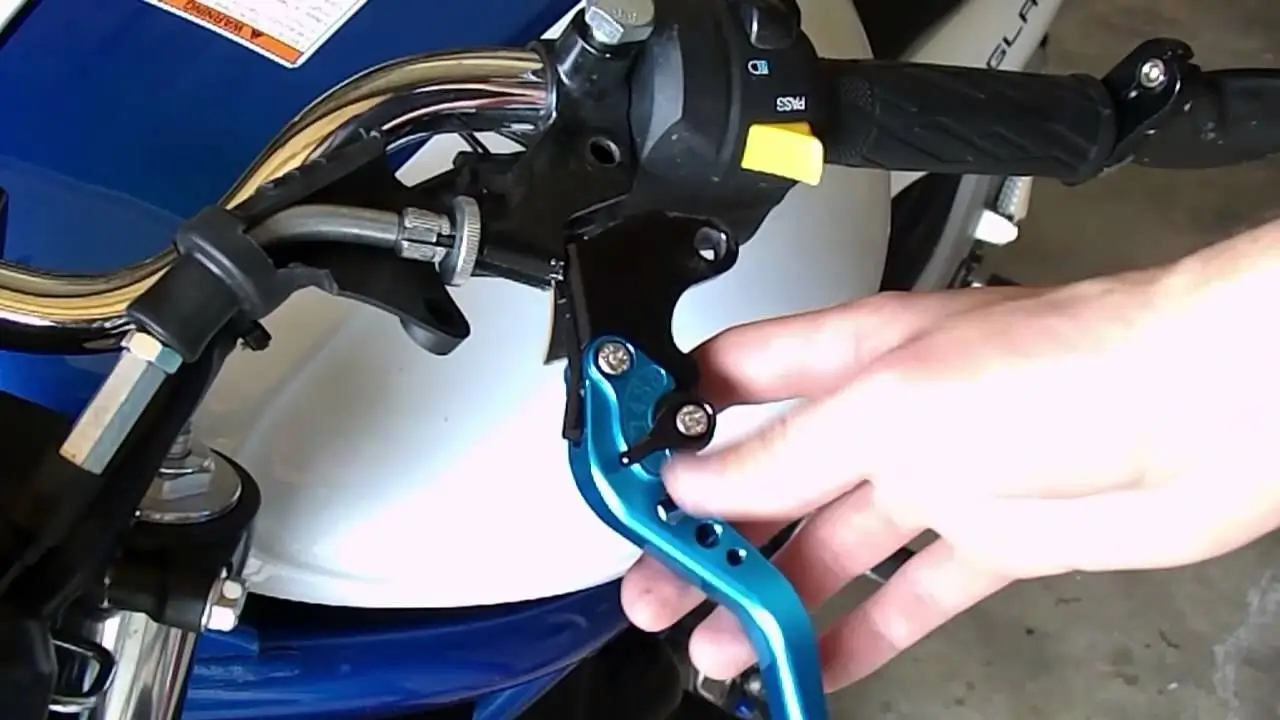
Install the Aftermarket Brake Lever
- Apply grease: Lightly coat the pivot bolt hole and the new lever’s contact points with grease to minimize friction.
- Position the new lever: Align the aftermarket brake lever in place, ensuring it sits correctly in the bracket.
- Insert the pivot bolt: Slide the pivot bolt through the lever and mounting hole.
- Tighten the bolt and nut: Secure the pivot bolt using the Allen key while tightening the locknut underneath with a 10mm wrench.
- Check the brake light switch: Ensure the brake lever properly engages the brake light switch.
Adjust the Brake Lever
- Check free play: Ensure there is slight free play when pulling the lever to avoid premature brake engagement.
- Adjust as necessary: If your aftermarket lever has an adjustable dial, fine-tune the reach for optimal comfort.
- Test the movement: Pull the lever several times to check for smooth operation.
Final Inspection and Test Ride
- Double-check all fastenings: Ensure the pivot bolt and locknut are secure.
- Test the brakes: Squeeze the lever to ensure it applies the brakes correctly.
- Go for a short test ride: Ride at low speed and check brake responsiveness. If needed, make further adjustments.

Additional Tips for Maintaining Your Brake Lever
Regular Cleaning
Dirt and grime can accumulate around the brake lever. It affects performance. Clean it regularly with a microfiber cloth and mild soap.
Lubrication
Apply lubricant or grease to the pivot points every few months to maintain smooth operation and prevent excessive wear.
Inspect for Damage
Check for any cracks or excessive wear on the lever. If you notice any defects, replace the lever immediately to ensure safety.
Common Mistakes to Avoid
- Over-tightening the pivot bolt: Can cause stiffness in lever movement.
- Neglecting lubrication: May lead to premature wear and friction.
- Ignoring brake light switch alignment: Can result in malfunctioning brake lights.
- Using the wrong-sized brake lever: Ensure the aftermarket lever is compatible with your CBR150R model year.
FAQs
1. Can I install an aftermarket brake lever myself?
Yes, installing an aftermarket brake lever is a simple process which can be accomplished with basic tools. It will give you the step-by-step instructions to complete the installation without any issues.
2. Should I change the brake lever after the installation?
It’s definitely a good idea to verify the lever’s free play and adjust it as necessary. Obviously, ergonomics are adjustable on most aftermarket levers.
3. What if, after installation, my brake light doesn’t work?
They will also be able to tell if your brake light doesn’t activate, and if so, if the brake light switch has been aligned. Check that the lever engages the switch correctly and adjust it as necessary.
4. How often should I lubricate my brake lever?
Lubricating the pivot points every few months is recommended to ensure smooth movement and prevent excessive wear.
5. Will installing an aftermarket lever affect my bike’s warranty?
However, you will depend on your warranty policy. How minor or major the alterations are in braking levers, brakes, and other such components won’t affect the overall validity of the warranty as long as the service is being done in an authorized dealer.
6. So, which type of brake lever should I buy?
Select the Honda CBR150R (2011 – 2020) lever type. They are better if their options can be adjusted for better comfort and control.
7. Can I use the same process to replace the clutch lever?
As such, yes, the process is similar for installing a clutch lever; however, after installation, don’t forget to adjust the clutch cable tension correctly.
Conclusion
Installing an aftermarket Honda CBR150R Front Brake Lever is a very simple procedure that’ll add more aesthetics and performance. By following this guide, you should be able to install it professionally without having expert help. You now get better braking control and a customized ride experience!