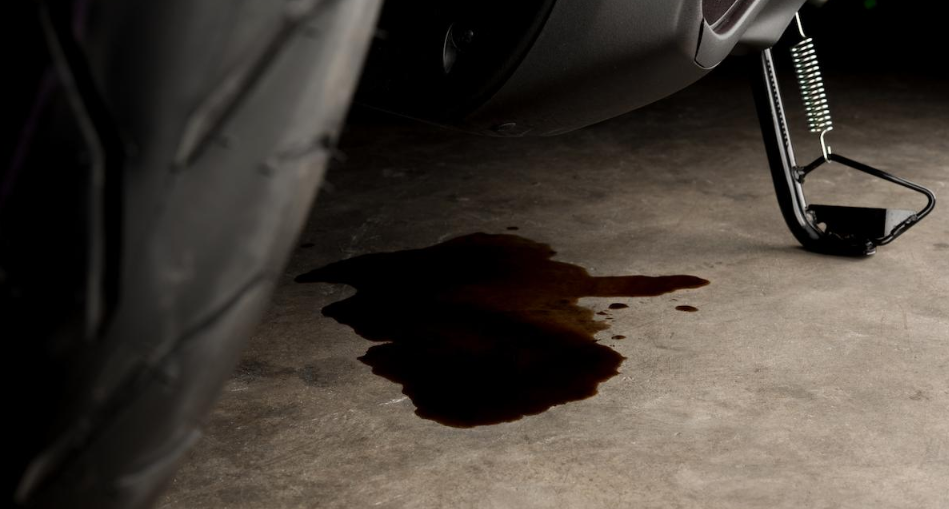
There’s nothing quite like the thrill of taking your motorcycle for a ride, the wind in your hair, and the road ahead waiting to be conquered. But when you come back to find an oil stain beneath your bike, that thrill can quickly turn to frustration. One of the most common culprits of motorcycle oil leaks is the gasket — those small seals between engine parts that, over time, can wear down or get damaged.
Fortunately, fixing a motorcycle oil leak around the gaskets isn’t as intimidating as it sounds. In fact, with a little patience and the right approach, you can easily handle this problem yourself, all thanks to Aliwheels.
Why Do Gaskets Leak?
Before diving into the fix, it’s important to understand why gaskets leak in the first place. Motorcycle engines work under extreme heat and pressure, and over time, the gaskets can become brittle or crack. This wear and tear often leads to oil leaks. Other factors, like improper installation or even excessive engine pressure, can also cause the gaskets to fail. Knowing what’s causing the leak can help you prevent it from happening again in the future.
Finding the Source of the Leak
The first step in fixing an oil leak is to locate the source. At first glance, it may seem obvious that the leak is coming from the gasket, but it’s important to be thorough. Start by cleaning the engine with a degreaser to remove any built-up oil. This will make it easier to spot the leak’s origin. Once clean, inspect the gaskets carefully. Look for cracks, wear marks, or areas where oil might be seeping through.
While you’re at it, check other potential sources of the leak, such as the oil filter or drain plug. Sometimes, what looks like a gasket leak may actually be caused by another part of the engine.
Draining the Oil
Once you’ve confirmed that the leak is indeed coming from the gasket, it’s time to get to work. Start by draining the oil from the engine. Make sure your motorcycle is parked on a level surface, and allow the engine to cool if it’s been running. Using a drain pan, remove the drain plug to let the oil flow out completely. If the oil filter needs to be replaced, now is also the time to remove it. You don’t want any oil left in the engine when you’re working on the gaskets.
Removing the Old Gasket
With the oil drained, you can begin removing the faulty gasket. First, use a wrench to loosen the bolts holding the gasket in place. Take care not to apply too much force, as this could damage the surrounding parts. Once the bolts are loose, gently pry off the old gasket. You can use a gasket scraper for this, but be careful not to scratch the engine surfaces underneath.
After removing the gasket, thoroughly clean the mating surfaces — the parts that the gasket seals between. Use a rag or a cleaning brush to remove any oil, dirt, or debris. It’s essential that these surfaces are completely clean before installing the new gasket to ensure a proper seal.
Installing the New Gasket
Now that you’ve removed the old gasket and cleaned the mating surfaces, you’re ready to install the new one. Carefully align the new gasket in place, making sure it fits snugly and is positioned properly. If you’re using a gasket sealant (which is sometimes recommended for older engines), apply a small amount to both surfaces before placing the new gasket.
Once the gasket is in place, reinstall the bolts. Tighten them in a criss-cross pattern to ensure an even seal. Be careful not to overtighten the bolts, as this could cause the gasket to compress too much and fail prematurely.
Refilling the Oil
With the new gasket in place, you can refill the engine with fresh oil. Start by installing the new oil filter, if necessary, and then carefully pour in the right amount and type of oil for your motorcycle. Check the oil level once you’ve filled it up to ensure that it’s within the recommended range.
Testing the Fix
Finally, start your bike and let it run for a few minutes. Keep an eye on the area around the gasket to make sure that no oil is leaking out. If you notice any leaks, turn off the engine immediately and recheck the gasket installation to ensure it’s seated properly.
Once you’re sure the motorcycle oil leak is fixed, take your motorcycle for a short test ride. This will help you check if everything is running smoothly. After the ride, stop and check for any signs of oil leakage again. If the area around the gasket is dry, you’ve successfully fixed the leak!
Wrapping Up!
Fixing a motorcycle oil leak around the gaskets is a relatively simple process that can save you both time and money. By identifying the leak, carefully removing the old gasket, and installing a new one, you can restore your bike to its full potential. While this repair is certainly doable on your own, don’t hesitate to consult a professional mechanic if you’re not comfortable handling it yourself. A properly sealed engine will ensure a smooth, leak-free ride — every time.