
Think stopping power is just about fancy calipers and high-performance pads? Think again! Grime, dust, and built-up gunk can wreak havoc on your motorcycle’s braking system, turning a confident squeeze into a mushy mess.
But fear not, fellow rider! With a trusty degreasing cleaner and a touch of know-how, you can transform your Motorcycle Brakes from shuddering shadows to smooth, silent guardians of the road. So, ditch the brake fade and ditch the drama – it’s time to unleash the cleaning power and reclaim the thrill of precise, responsive braking!
Why Clean with Degreaser?
Using a degreaser for cleaning offers several advantages over other methods, particularly when dealing with greasy or oily residues:
- Efficiency: Degreasers are specifically formulated to break down and lift away grease, oil, and grime from surfaces quickly and effectively. This means less scrubbing and effort compared to using soap and water alone.
- Versatility: Degreasers can be used on a wide range of surfaces, including metal, plastic, and rubber, making them suitable for various cleaning tasks in automotive, industrial, and household settings.
- Time-saving: Because degreasers work quickly to dissolve grease and grime, they can help reduce cleaning time significantly, allowing you to accomplish more in less time.
- Deep cleaning: Degreasers penetrate deep into surfaces to remove embedded grease and oil, leaving surfaces thoroughly clean and ready for further treatment or maintenance.
Common misconceptions About Degreasers Include:

Toxicity:
While some degreasers can contain harsh chemicals, there are also environmentally friendly and biodegradable options available. It’s essential to read and follow the manufacturer’s instructions for safe use and disposal.
Surface damage:
Properly formulated degreasers are safe for use on most surfaces, but it’s essential to test in an inconspicuous area first to ensure compatibility and prevent damage, especially on delicate materials like plastics or painted surfaces.
Safety precautions:
Safety precautions are paramount when working with brakes and chemicals:
Personal Protective Equipment (PPE):
Wear protective gloves, safety glasses, and, if working in a poorly ventilated area, a respirator mask to prevent inhalation of fumes.
Ventilation:
Work in a well-ventilated area or use exhaust fans to minimize exposure to chemical fumes.
Avoid skin contact:
Degreasers can be harsh on the skin, so avoid direct contact. If skin contact occurs, wash the affected area immediately with soap and water.
Read labels: Always read and follow the manufacturer’s instructions for safe handling, use, and disposal of degreasers and other chemicals.
Let’s Begin the Preparation:
Preparation is key to safely and effectively cleaning brakes with a degreaser.
Supplies Required:
You’ll need brake-specific degreaser (avoiding chlorinated types), gloves, safety glasses, a respirator mask (if poorly ventilated), a spray bottle or applicator, stiff-bristled brushes, lint-free cloths, jack stands, or a motorcycle lift.
Choosing the right workspace:
Opt for a well-ventilated area, such as a garage with open doors or windows. Ensure there’s enough space to maneuver around the motorcycle comfortably and adequate lighting for visibility.
Motorcycle prep:
Safely secure the motorcycle on a stable surface using jack stands or a motorcycle lift. Place a drain pan underneath to catch any fluids that may leak during cleaning.
Wheel removal:
Use the appropriate tools to loosen the axle nuts or bolts, then carefully lift the front and/or rear wheel(s) off the ground. Support the motorcycle securely to prevent it from tipping over. Make sure to follow the manufacturer’s instructions for wheel removal to avoid damage or injury.
Cleaning the Discs Step-by-Step Process
Cleaning the brake discs is an essential step in maintaining brake performance and safety. Here’s a step-by-step process:
- Gather Supplies: Prepare your workspace with the necessary tools and materials, including brake-specific degreaser, lint-free cloths, and a soft-bristled brush.
- Secure the Motorcycle: Ensure the motorcycle is securely supported on jack stands or a motorcycle lift to prevent it from moving during cleaning.
- Remove the Wheels: Carefully remove the front and/or rear wheels following the manufacturer’s instructions. Place them on a clean surface nearby.
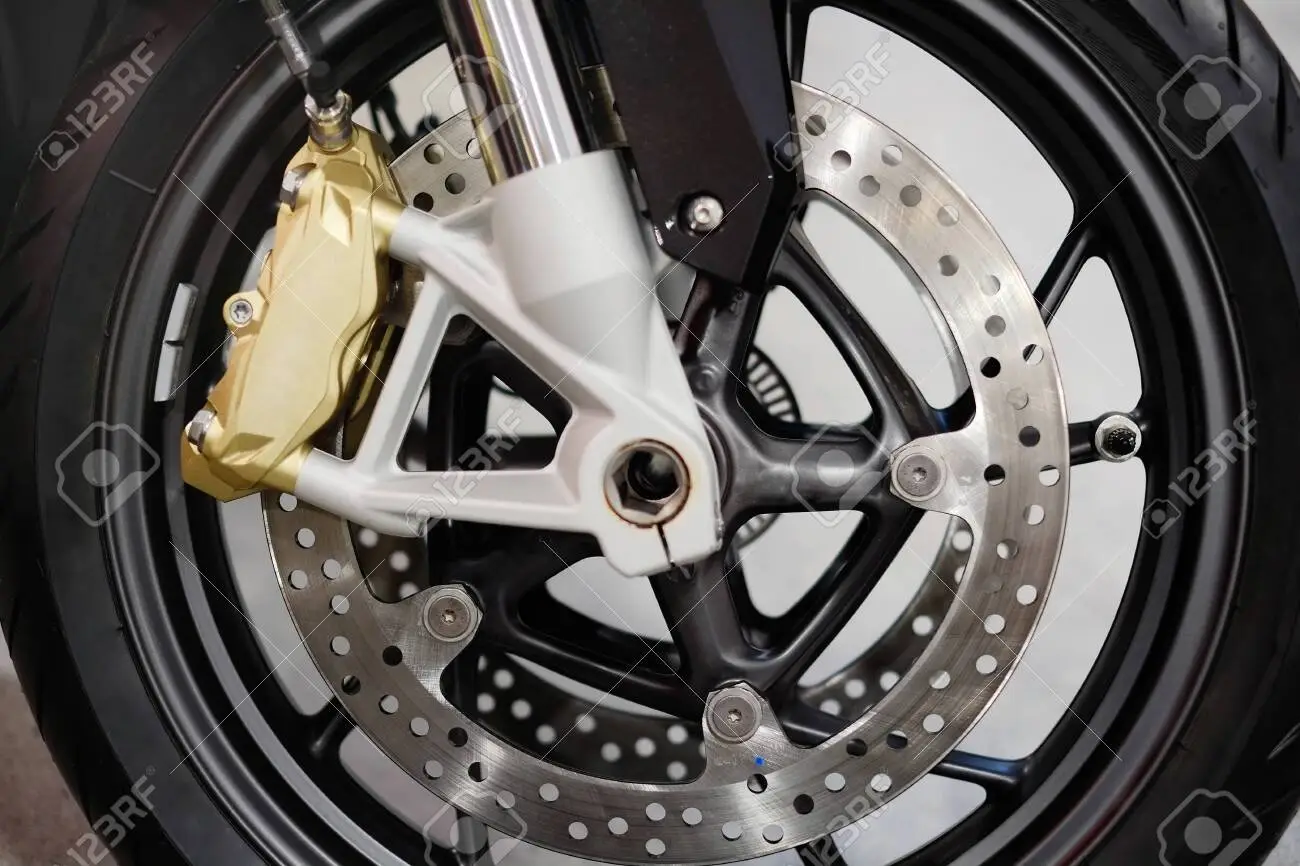
- Inspect the Discs: Check the brake discs for any visible signs of damage or excessive wear. Look for grooves, cracks, or discoloration.
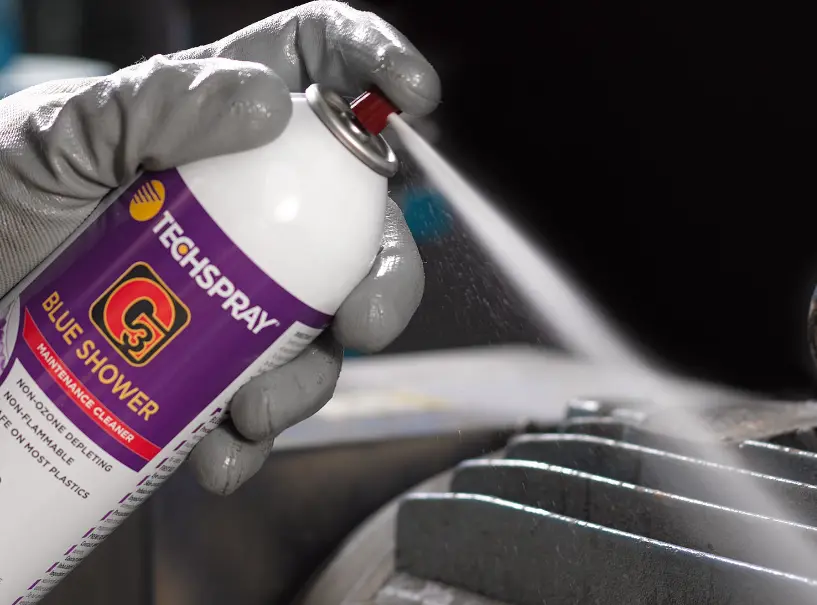
- Apply Degreaser: Spray brake-specific degreaser onto the surface of the brake discs, focusing on areas with visible grease or grime buildup.
- Scrub Gently: Use a soft-bristled brush to gently scrub the brake discs, paying particular attention to the areas around the brake pads and calipers. Be careful not to apply too much pressure to avoid damaging the discs.
- Wipe Clean: Use lint-free cloths to wipe away the degreaser and loosened dirt from the brake discs. Repeat this step until the discs are clean and free of residue.
- Inspect Again: After cleaning, inspect the brake discs once more to ensure they are completely clean and free of any contaminants.
- Reinstall the Wheels: Carefully reinstall the front and/or rear wheels following the manufacturer’s instructions. Tighten the axle nuts or bolts securely.
- Test Brakes: Before riding the motorcycle, pump the brake lever or pedal several times to restore brake pressure. Test the brakes at low speeds in a safe area to ensure they are functioning correctly.
Following these steps will help you effectively clean the brake discs and maintain optimal braking performance on your motorcycle.
Cleaning the Calipers Step-by-Step Process:
Cleaning the calipers is crucial for maintaining the performance and longevity of your motorcycle’s braking system. Here’s a detailed guide:
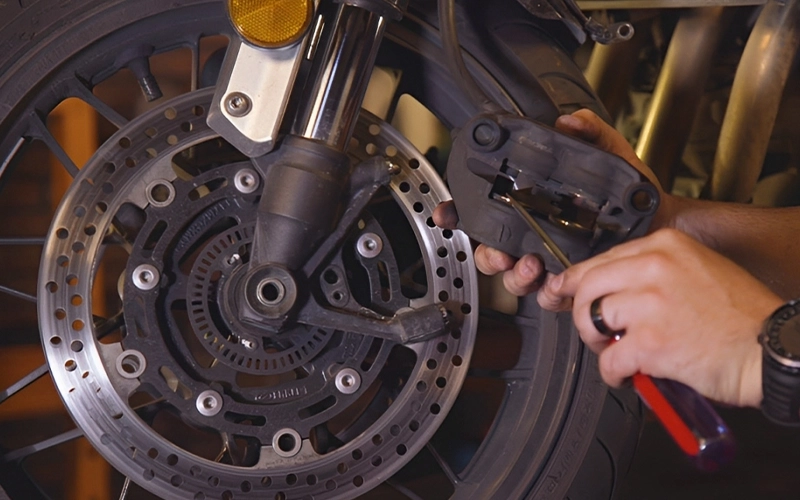
Removing the pads:
-Loosen the caliper bolts using an appropriate wrench or socket.
-Carefully slide the caliper off the rotor, taking care not to damage the brake line.
-Remove any retaining pins or clips securing the brake pads in place.
-Slide the brake pads out of the caliper body, noting their orientation for reassembly.
Degreasing the calipers:
-Spray brake-specific degreaser onto the caliper body, focusing on areas with visible dirt, grease, or brake dust buildup.
-Avoid spraying degreaser directly onto rubber components, such as the piston seals, to prevent damage.
-Use a lint-free cloth or soft brush to gently scrub the caliper body, pistons, and surrounding areas to remove stubborn dirt and grime.
Brush and compressed air:
-Utilize stiff-bristled brushes to reach tight spaces and crevices within the caliper body, ensuring thorough cleaning.
-Use compressed air to blow away loosened dirt and debris from hard-to-reach areas, such as around the pistons and inside the caliper housing.
Piston cleaning:
-Carefully inspect the piston surfaces for any signs of corrosion, brake fluid leaks, or debris buildup.
-If necessary, use compressed air to blow away loose dirt and debris from the piston surfaces.
-Use cotton swabs or dedicated piston cleaning tools to gently remove any remaining dirt or brake fluid residue from the piston surfaces.
-Avoid using sharp objects or excessive force that could damage the piston seals.
Lubrication (optional):
-If applicable, apply a small amount of brake caliper lubricant to the piston surfaces and caliper pins to ensure smooth operation and prevent corrosion.
-Use caution not to apply lubricant to the brake pad friction surfaces or rotor, as this can compromise braking performance.
By following these steps, you can effectively clean the calipers of your motorcycle’s braking system, ensuring optimal performance and safety on the road. Remember to reassemble the calipers and reinstall the brake pads securely before testing the brakes and returning the motorcycle to service.
Additional Tips and Troubleshooting:
Common problems:
Stuck pistons can often be freed by gently pumping the brake lever or pedal to apply pressure, encouraging movement. Brake fluid contamination may require flushing the entire brake system to remove old fluid and debris. Stubborn grime can sometimes be loosened with a longer soak in degreaser or the use of stronger cleaning agents, but take care not to damage sensitive components.
Advanced cleaning techniques:
For heavily neglected brakes, consider disassembling the calipers completely for a more thorough cleaning. Additionally, specialized tools such as brake piston retractors or brake caliper rebuild kits can assist in addressing specific maintenance concerns like worn seals or corroded pistons.
When to seek professional help?
If you encounter issues beyond your expertise or feel uncomfortable performing brake maintenance, it’s best to consult a qualified mechanic. Complex problems such as brake fluid leaks, damaged seals, or malfunctioning components should be addressed by a professional to ensure the safety and reliability of your motorcycle’s braking system.
Wrapping Up!
In conclusion, maintaining clean brakes is essential for optimal performance and safety on the road. By taking the initiative to clean your motorcycle’s brakes yourself, you not only ensure their effectiveness but also gain a sense of accomplishment and peace of mind. So, don’t hesitate to tackle this project and experience the satisfaction of improved braking performance. Your diligence will pay off in enhanced safety and enjoyment of your motorcycle rides.