bikerbiker Aliwheels is a leading motorcycle parts supplier offering free shipping anywhere in the world on orders above $300. Please note that all of our motorcycle parts and accessories are certified and tested. With more than 10,000* products to choose from this is your one place to get the motorcycle part you need. Browse our vast inventory of motorcycle radiators, fairings, clutch plates, headlights, chains, and sprockets. biker

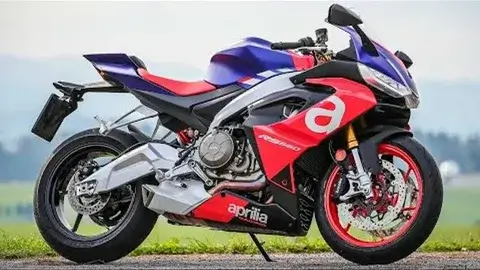
Maintaining your Triumph motorcycle isn’t just about performance; it’s about safety, reliability, and preserving your investment. Whether you ride a Bonneville, Street Triple, or Tiger, regular upkeep is key to avoiding costly repairs down the road. Understanding which Triumph motorcycle parts are essential for routine maintenance can keep your ride in top condition and extend its lifespan. This guide will walk you through the must-have parts, their maintenance schedules, and tips for keeping your motorcycle road-ready.

Why Regular Maintenance Matters

Routine maintenance ensures your Triumph delivers consistent performance and helps prevent unexpected breakdowns. Neglect of key components can lead to:

  • Reduced fuel efficiency
  • Engine wear and tear
  • Poor braking and handling
  • Safety risks on the road

Keeping up with scheduled service using OEM or high-quality aftermarket parts is crucial for long-term reliability.

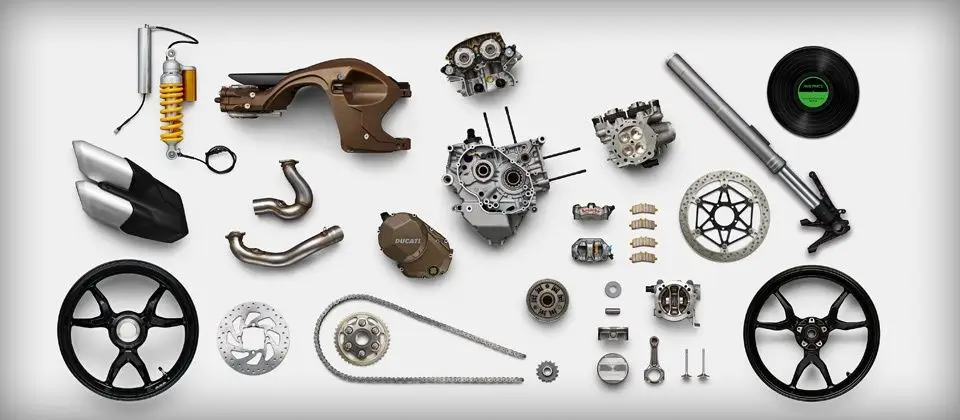
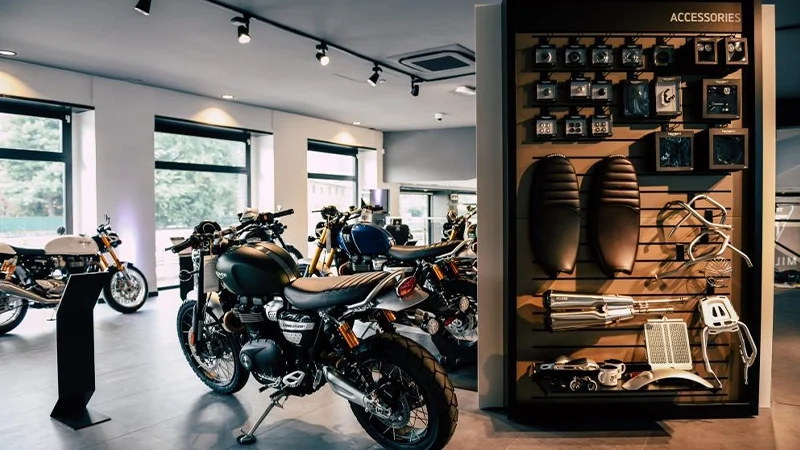
Essential Triumph Motorcycle Parts for Routine Maintenance

Let us break down the most critical parts that require regular checks, servicing, or replacement.

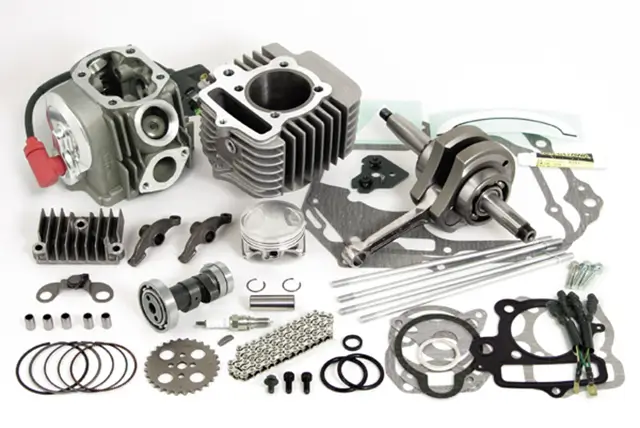
1. Engine Oil and Oil Filters

Why it matters: Engine oil lubricates, cools, and cleans the engine. Over time, oil degrades and collects contaminants.

Maintenance Tip:

  • Change the oil every 3,000–5,000 miles, or as recommended by your model’s manual.
  • Always replace the oil filter when changing the oil.

Recommended Products:

  • Triumph OEM oil filters
  • Full synthetic 10W-40 or 15W-50 motorcycle oil (depending on the climate and model)

2. Air Filters

Why it matters: A clean air filter ensures your engine gets the right air-to-fuel ratio, which boosts performance and fuel economy.

Signs of Replacement:

  • Decreased power
  • Poor throttle response
  • Dirty or clogged appearance

Maintenance Tip: Replace every 10,000–12,000 miles or more frequently in dusty conditions.

3. Spark Plugs

Why it matters: Spark plugs are vital for proper engine combustion.

Symptoms of Worn Spark Plugs:

  • Hard starts
  • Misfires
  • Rough idling
  • Poor fuel efficiency

Maintenance Tip:

  • Inspect every 6,000–8,000 miles
  • Replace every 12,000–16,000 miles

Pro Tip: Use NGK or OEM Triumph spark plugs for compatibility.

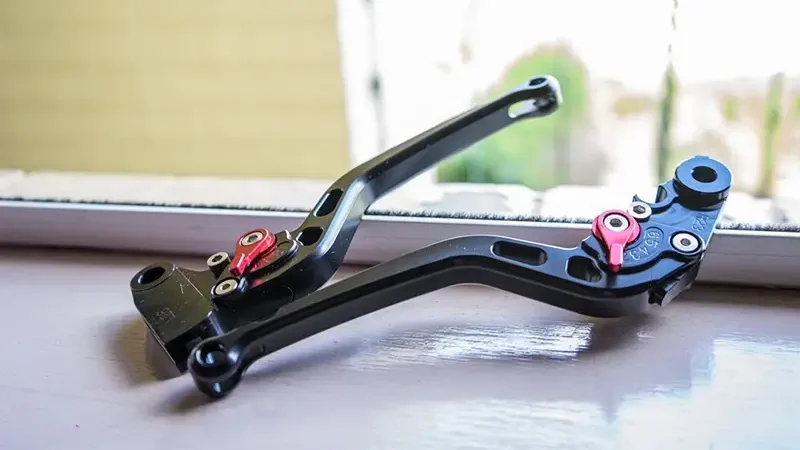
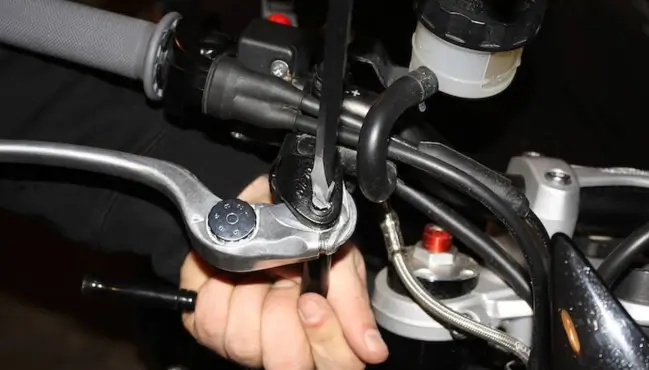
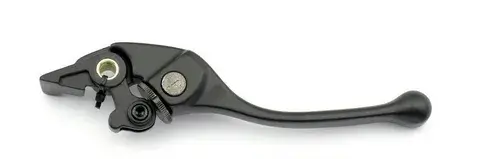
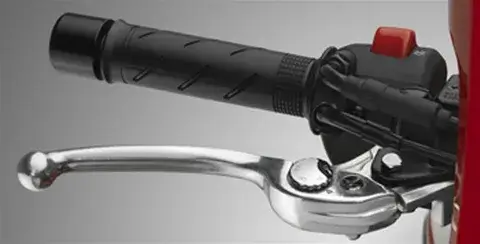
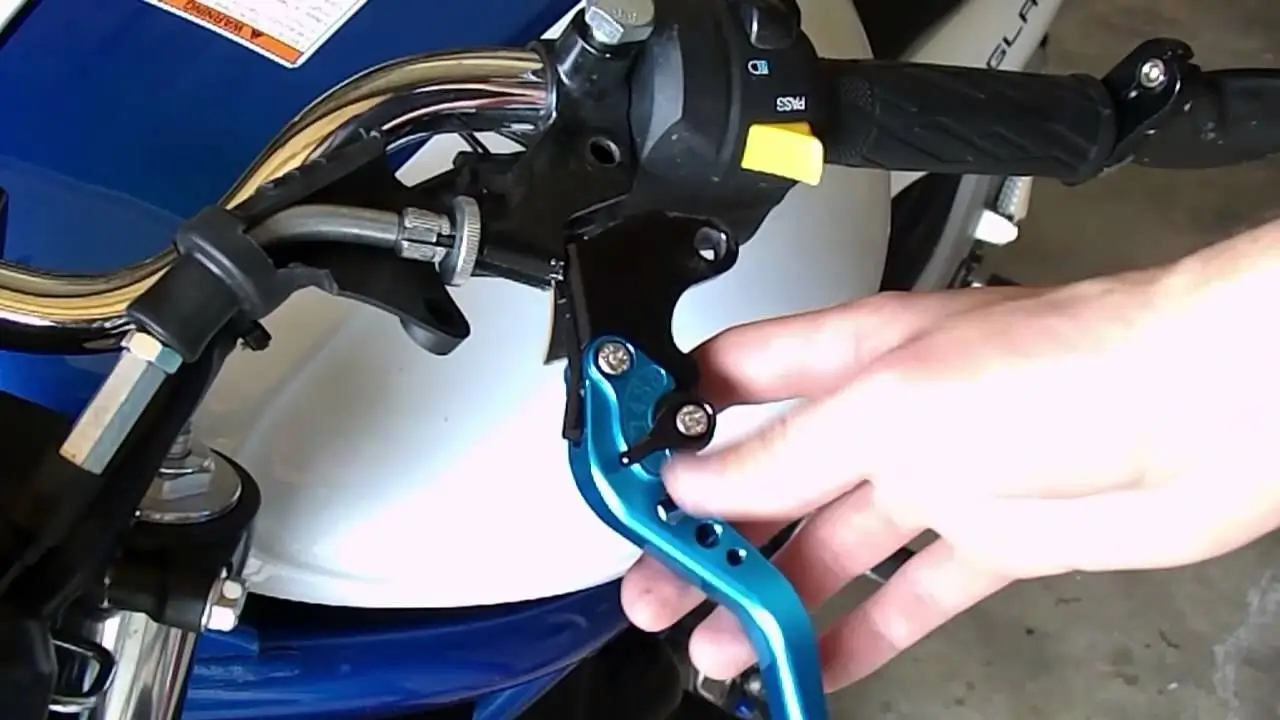
4. Brake Pads and Brake Fluid

Why it matters: Brakes are crucial for your safety. Worn pads or degraded fluid can severely reduce stopping power.

Maintenance Checklist:

  • Check pad thickness regularly
  • Replace pads before they wear below 2mm
  • Flush and replace brake fluid every 1–2 years

Recommended Brands: EBC, Brembo, or Triumph OEM components

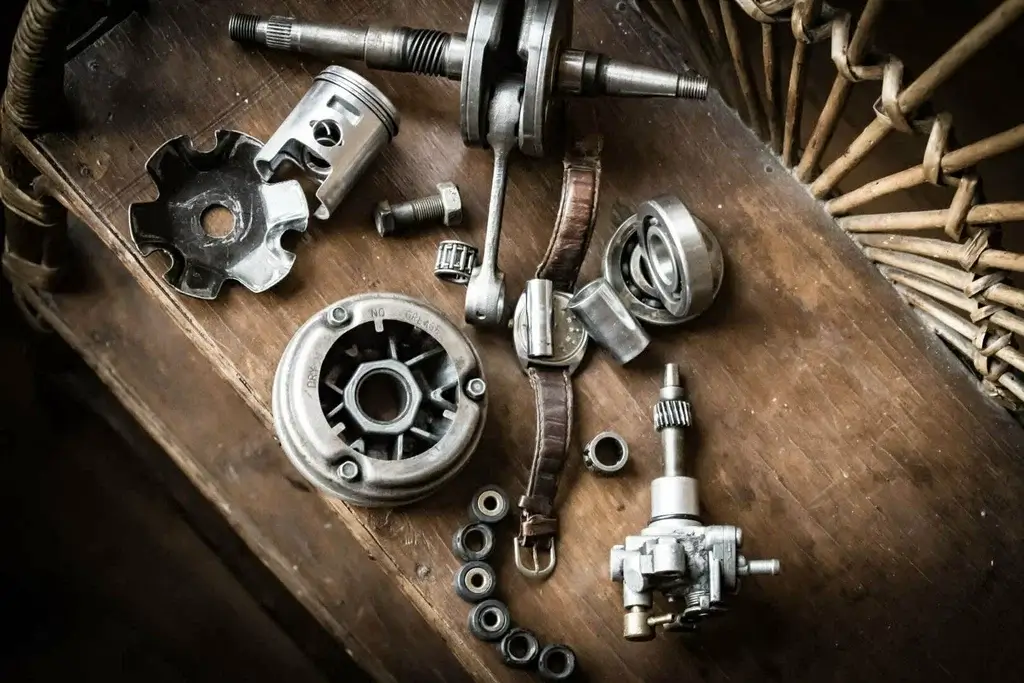
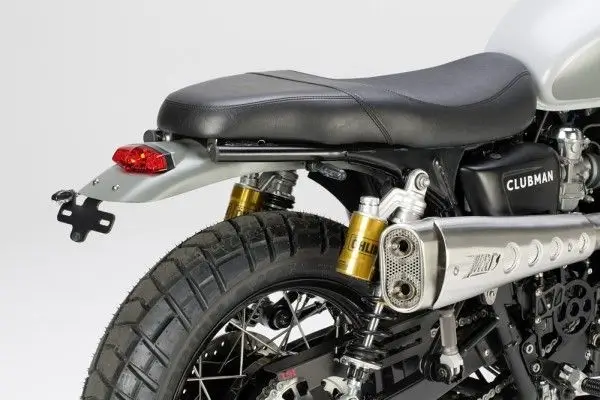
5. Chain and Sprockets

Why it matters: The drive chain transfers power from the engine to the rear wheel. A worn chain can slip or break, posing a hazard.

Maintenance Routine:

  • Clean and lubricate the chain every 300–600 miles
  • Adjust the tension regularly
  • Replace the chain and sprockets as a set every 15,000–20,000 miles or when signs of wear appear

6. Tires

Why it matters: Tires impact everything from handling to fuel efficiency to braking.

What to Watch For:

  • Tread wear indicators
  • Cracks or flat spots
  • Uneven wear

Maintenance Tip: Check tire pressure before every ride and replace tires when tread depth is below 2/32 inch.

7. Battery

Why it matters: A healthy battery ensures your Triumph starts reliably and powers your lights and electronics.

Maintenance Guidelines:

  • Inspect terminals for corrosion
  • Test voltage regularly (12.6V+ when fully charged)
  • Replace every 3–5 years

Upgrade Tip: Consider lithium batteries for longer life and lighter weight.

8. Coolant

Why it matters: Coolant keeps the engine temperature stable and prevents overheating.

Maintenance Tip:

  • Flush and replace the coolant every two years
  • Use Triumph-approved coolant to avoid damage

Tools and Accessories to Keep on Hand

Keeping your Triumph in shape also means being ready with the right tools and consumables.

Must-Have Motorcycle parts Maintenance Items:

  • Torque wrench
  • Chain lube and cleaner
  • Oil catch pan
  • Tire pressure gauge
  • Funnel and gloves
  • Service manual specific to your model

When to Choose OEM vs. Aftermarket Motorcycle Parts

OEM (Original Equipment Manufacturer) parts are designed specifically for Triumph motorcycles, offering guaranteed fit and performance. They’re best for:

  • Warranty compliance
  • Ensuring compatibility
  • Peace of mind with quality assurance

When sourced from reputable brands, aftermarket parts can offer better pricing or performance in some cases. Always research customer reviews and consult your mechanic before opting for non-OEM replacements.

FAQs

1. How often should I service my Triumph motorcycle?
Service intervals depend on the model, but basic maintenance, such as oil changes, should occur every 3,000–5,000 miles.

2. Can I use aftermarket parts instead of OEM for Triumph motorcycles?
Yes, but ensure they’re from reputable brands and properly fitted. OEM parts guarantee compatibility and are often safer for warranty coverage.

3. What’s the average lifespan of a Triumph motorcycle chain?
With proper care, a chain can last between 15,000 and 20,000 miles. To extend its life, clean and lubricate it regularly.

4. How do I know when my brake pads need replacing?
Inspect them visually. If the pad thickness is below 2mm or you hear squealing, it’s time to replace them.

5. Should I replace spark plugs myself or get professional help?
Experienced riders can replace spark plugs at home, but if you’re unsure, a certified technician can ensure it’s done correctly.

6. What’s the best oil for a Triumph motorcycle?
Use fully synthetic 10W-40 or 15W-50 motorcycle oil. Refer to your model’s manual for the exact specification.

Conclusion

Regular maintenance is non-negotiable for any Triumph motorcycle owner who wants longevity, safety, and optimal riding performance. From changing your oil to inspecting brake pads and replacing air filters, knowing which Triumph motorcycle parts to focus on is the first step. By following a maintenance schedule and using high-quality components, you’ll keep your Triumph running like new for years to come.

Ready to gear up? Make a checklist, stock up on essentials, and ride on with confidence.

(Commenting: OFF)


Introduction: Why a Gas Tank Protector is Essential

A motorcycle gas tank protector may seem like a small detail, but it plays a crucial role in preserving your bike’s appearance and resale value. Also known as a tank pad or tank guard, this accessory helps protect your gas tank from scratches caused by zippers, keys, buckles, and general wear from your riding posture. Whether you ride a sportbike, cruiser, or touring motorcycle, selecting the right motorcycle gas tank protector ensures both form and function. In this guide, we’ll walk you through the key factors to consider before making your purchase.

Understand the Purpose of a Gas Tank Protector

At its core, a gas tank protector is a layer of defense. The gas tank is one of the most visible parts of your bike. Scratches, chips, or stains can detract from its aesthetics and even reduce the value of your motorcycle when it’s time to sell or trade in.

Beyond protection, tank pads also offer:

  • Improved grip for better control, especially in sport riding
  • Visual appeal with custom graphics and textures
  • Increased comfort, reducing sliding during acceleration or braking

Understanding what you want—protection, style, grip, or all of the above—will help guide your buying decision.

Material Matters

Tank protectors come in various materials, and each has its pros and cons:

Rubber or Silicone Gel:

  • Soft, flexible, and grippy
  • Ideal for comfort and control
  • Often used for sporty riding

Vinyl or Polyurethane:

  • Durable and glossy
  • Easy to clean and maintain
  • Common for graphic-heavy designs

Carbon Fiber (Real or Imitation):

  • Lightweight and stylish
  • Offers a high-performance look
  • Usually more expensive

Choose a material based on your riding style, aesthetic preferences, and how much protection you need.

Fit and Compatibility

Not all tank protectors are one-size-fits-all. Your motorcycle’s tank shape and size should influence your choice.

Universal Protectors:

  • Flexible, easy to apply
  • Can be trimmed if needed
  • Widely available and affordable

Bike-Specific Protectors:

  • Designed to fit a particular make and model
  • Offer better coverage and a cleaner look
  • Often sold by OEMs or premium aftermarket brands

Check manufacturer specifications and user reviews to ensure a snug and secure fit.

Installation: Ease and Adhesion

Most tank protectors use an adhesive backing for easy peel-and-stick application. However, the quality of the adhesive is just as important as the material.

Here’s what to look for:

  • Strong adhesive that doesn’t peel in hot or wet conditions
  • Residue-free removal, in case you want to replace or upgrade
  • Curved design, which molds easily to your tank’s shape

Before applying, always clean the tank thoroughly with alcohol-based cleaner to ensure maximum adhesion.

Design and Aesthetics

A tank protector doesn’t just protect—it can also elevate the look of your motorcycle. Design options include:

  • Solid colors (black, clear, red) for a minimalistic look
  • Brand logos to match your motorcycle’s make
  • Custom graphics (skulls, flags, racing stripes, carbon weave)
  • Transparent options for subtle protection

If your bike has a sleek or custom paint job, consider a clear protector to avoid hiding the original design.

Grip and Control

Some tank pads also double as grip pads, providing added control during aggressive riding. This is especially helpful for sportbike riders who frequently shift their weight during cornering.

Look for features like:

  • Textured surfaces to reduce leg slip
  • High-friction rubber for enhanced stability
  • Side tank grip extensions, often sold in kits

If you’re more into touring or casual riding, a simpler flat design may be sufficient.

Price vs. Value

Like most motorcycle gear, you get what you pay for with tank protectors. While budget options might look fine initially, they may peel, fade, or crack over time. Consider spending a bit more on a quality product that lasts.

Expect to pay:

  • $10–$20 for basic universal pads
  • $20–$40 for custom designs and textured grips
  • $50+ for high-end materials like carbon fiber or OEM-branded pads

Balance price with reviews, durability, and warranty offerings.

Maintenance and Durability

Even the best tank protectors can degrade over time if not properly maintained.

Here’s how to extend their life:

  • Clean gently with mild soap and a soft cloth
  • Avoid harsh chemicals that can damage the surface
  • Inspect regularly for peeling, bubbling, or fading

Durable materials like polyurethane and rubber tend to last longer, especially under frequent sun exposure and temperature changes.

Where to Buy Tank Protectors

Reliable sources include:

  • OEM dealers for model-specific fit
  • Online retailers like RevZilla, Cycle Gear, and Amazon
  • Local motorcycle shops, especially for installation support
  • Rider forums or marketplaces, for deals on pre-owned parts

Always check product reviews, ratings, and return policies before purchase.

Frequently Asked Questions (FAQs)

1. Do gas tank protectors damage the paint?
No, if applied properly. Most use non-abrasive adhesives that won’t harm your paint.

2. Can I remove a gas tank protector without leaving marks?
Yes. Use a hairdryer to soften the adhesive, then peel slowly. Clean leftover residue with rubbing alcohol.

3. Are tank protectors only for sportbikes?
Not at all. They’re useful on cruisers, touring bikes, and even adventure motorcycles for both protection and grip.

4. How long does a typical tank protector last?
With proper care, a quality tank pad can last 2–5 years or more, depending on exposure and usage.

5. Is a clear tank protector as durable as a black one?
Yes, as long as the material quality is the same. Clear protectors are just more discreet.

Conclusion: Make the Smart Choice for Your Bike

A gas tank protector may be one of the simplest upgrades you make to your motorcycle, but it’s also one of the most practical. From preventing unsightly scratches to enhancing control and complementing your bike’s design, the right motorcycle gas tank protector does it all. Focus on material, fit, grip, and style to choose the best one for your needs. Whether you go for a sleek, clear pad or a textured sport grip, your tank—and future self—will thank you.

(Commenting: OFF)


Owning an Aprilia motorcycle is a rewarding experience for any motorcycle enthusiast. Known for Italian engineering and high-performance builds, Aprilia bikes require parts that match their quality. Whether you’re a casual rider or a track-day warrior, using the correct Aprilia motorcycle parts is crucial for performance, safety, and longevity. This guide will help you navigate the process of finding the right parts, genuine, aftermarket, or OEM, ensuring you make informed decisions every time.

Understanding the Different Types of Motorcycle Parts

Original Equipment Manufacturer (OEM) parts are made by the same manufacturer that produced your bike’s original components. They offer:

  • Guaranteed fit and function
  • Manufacturer warranty
  • Consistent quality

While typically more expensive, OEM parts ensure peace of mind, especially for critical components like brakes or suspension systems.

Third-party companies produce aftermarket parts and often offer:

  • Lower cost
  • Performance enhancements
  • Wider availability

However, quality can vary greatly. Research brands and reviews thoroughly before purchasing.

Genuine parts are OEM parts sold under the manufacturer’s branding. When you buy a genuine Aprilia part, you’re essentially buying OEM, often at a premium.

How to Identify the Right Aprilia Motorcycle Parts for Your Model

Aprilia offers various models, such as the RSV4, Tuono, and RS 660. Each model requires parts specific to its year and trim.

Your motorcycle’s Vehicle Identification Number (VIN) contains essential information:

  • Model and year
  • Engine type
  • Country of origin

Use your VIN to search parts catalogs and confirm compatibility.

If you already know the part number:

  • Search directly using the manufacturer’s part number
  • Cross-reference with supplier databases
  • Verify it hasn’t been replaced or discontinued

Many Aprilia manuals list recommended replacement parts and specs. Keep this handy to avoid mismatches.

Where to Buy Aprilia Motorcycle Parts

Authorized dealerships offer:

  • Access to OEM and genuine parts
  • Expert staff guidance
  • Direct manufacturer support

The drawback is often higher pricing.

Online retailers like AF1 Racing, RevZilla, and MotoSport offer:

  • Competitive pricing
  • Extensive catalogs
  • User reviews

Ensure the retailer is reputable and offers return policies.

Aprilia forums (e.g., ApriliaForum.com) can be goldmines for:

  • Buying used parts
  • Getting advice from other owners
  • Learning about trusted suppliers

Be cautious with peer-to-peer sales—verify condition and authenticity before purchasing.

Factors to Consider Before Purchasing

Never assume a part fits just because it’s listed under “Aprilia.” Always:

  • Match part numbers
  • Check compatibility by year and model
  • Consult product fitment charts

Whether new or used, inspect for:

  • Wear and tear
  • Manufacturing defects
  • Correct packaging and labeling

Check:

  • Return window
  • Manufacturer or seller warranty
  • Restocking fees

Always keep your receipt and packaging until you’ve confirmed proper installation.

Genuine vs. Aftermarket: Which is Right for You?

Each rider has unique needs. Consider the following:

Choose genuine or OEM parts if you:

  • Want guaranteed fit and performance
  • Are you doing critical maintenance (e.g., brakes, engine)
  • Plan to maintain resale value

Try aftermarket if you:

  • Are upgrading performance (e.g., exhaust, suspension)
  • Have budget limitations
  • Want a custom look

Avoiding Counterfeit Parts

Counterfeit motorcycle parts pose safety risks and can damage your bike.

Signs a part might be fake:

  • Prices are too good to be true
  • Missing branding or poor-quality packaging
  • No verifiable part numbers

To stay safe:

  • Buy from authorized or verified sellers
  • Check customer reviews and ratings
  • Cross-check with the official Aprilia parts catalog

Top Aprilia Motorcycle Parts Every Owner Should Know

Here are common parts that riders often replace or upgrade:

  • Air filters: Crucial for engine efficiency
  • Brake pads and rotors: Essential for safety
  • Chains and sprockets: Affect acceleration and longevity
  • Oil filters: Key to engine health
  • Levers and mirrors: Popular for customization
  • Tires: Affect grip, handling, and comfort

Frequently Asked Questions (FAQs)

1. Can I use non-Aprilia parts on my motorcycle?
Yes, but always verify compatibility. Some aftermarket parts offer great performance, but quality varies.

2. Are Aprilia OEM parts better than aftermarket?
OEM parts ensure fit and quality. Aftermarket can be just as good if you choose reputable brands.

3. Where is the best place to buy Aprilia parts online?
Trusted retailers include AF1 Racing, RevZilla, and MotoSport. Always check reviews and return policies.

4. How do I find the right part number for my bike?
Use your VIN or consult your owner’s manual. Aprilia parts catalogs also provide part number lookup tools.

5. Are used Aprilia parts safe to use?
Used parts can be safe if thoroughly inspected. Buy from trusted sources and avoid critical components like brakes.

Conclusion: Ride Confidently with the Right Parts

Whether you’re replacing worn components or upgrading performance, finding the right Aprilia motorcycle parts is essential to keeping your bike in top condition. By understanding the differences between OEM, genuine, and aftermarket options, checking part compatibility, and purchasing from reliable sources, you ensure your ride is as safe and smooth as the day you bought it. Take the time to research, verify, and invest in parts that meet your riding style and needs.

(Commenting: OFF)

If you have a Honda CBR150R (2011-2020) and you are looking for ways to improve the performance and comfort of your bike, installing aftermarket Honda CBR150R Front Brake Levers is a simple yet effective way to do that. The upgrade is something the vast majority of people will want to do, regardless of whether you’re seeking better ergonomics, improved braking response, or simply a custom look. In this guide, we will show you how to go through the steps, what tools are needed, and what good practices are to get a smooth installation.

Tools and Materials Needed

Before you begin, gather the necessary tools and parts to ensure a hassle-free installation.

Required Tools:

  • 10mm and 12mm wrenches
  • Phillips screwdriver
  • Allen keys (various sizes)
  • Pliers
  • Thread locker (optional, for extra security)
  • Microfiber cloth (to prevent scratches)
  • Lubricant (for smooth operation)

Parts Needed:

  • Aftermarket brake lever (compatible with Honda CBR150R 2011-2020)
  • Grease (to reduce wear and tear on the pivot bolt)

Step-by-Step Installation Guide

Prepare Your Motorcycle

Park your Honda CBR150R on a stable surface before starting. If there is one, use a paddock stand to keep the bike steady. Put the ignition off, and check that the handlebars are accessible.

Remove the Stock Brake Lever

1. A pivot bolt and locknut underneath hold the front brake lever.

2.      Loosen the pivot bolt: Loosen the nut with a 10mm wrench and hold the pivot bolt with an Allen key.

3.      Take off the pivot bolt: After that, unscrew the pivot bolt and gently take it off.

4.      Remove the stock lever: Gently push the stock brake lever free of its mounting point. Be careful, as the brake light switch will not get damaged.

Install the Aftermarket Brake Lever

  1. Apply grease: Lightly coat the pivot bolt hole and the new lever’s contact points with grease to minimize friction.
  2. Position the new lever: Align the aftermarket brake lever in place, ensuring it sits correctly in the bracket.
  3. Insert the pivot bolt: Slide the pivot bolt through the lever and mounting hole.
  4. Tighten the bolt and nut: Secure the pivot bolt using the Allen key while tightening the locknut underneath with a 10mm wrench.
  5. Check the brake light switch: Ensure the brake lever properly engages the brake light switch.

Adjust the Brake Lever

  1. Check free play: Ensure there is slight free play when pulling the lever to avoid premature brake engagement.
  2. Adjust as necessary: If your aftermarket lever has an adjustable dial, fine-tune the reach for optimal comfort.
  3. Test the movement: Pull the lever several times to check for smooth operation.

Final Inspection and Test Ride

  1. Double-check all fastenings: Ensure the pivot bolt and locknut are secure.
  2. Test the brakes: Squeeze the lever to ensure it applies the brakes correctly.
  3. Go for a short test ride: Ride at low speed and check brake responsiveness. If needed, make further adjustments.

Additional Tips for Maintaining Your Brake Lever

Regular Cleaning

Dirt and grime can accumulate around the brake lever. It affects performance. Clean it regularly with a microfiber cloth and mild soap.

Lubrication

Apply lubricant or grease to the pivot points every few months to maintain smooth operation and prevent excessive wear.

Inspect for Damage

Check for any cracks or excessive wear on the lever. If you notice any defects, replace the lever immediately to ensure safety.

Common Mistakes to Avoid

  • Over-tightening the pivot bolt: Can cause stiffness in lever movement.
  • Neglecting lubrication: May lead to premature wear and friction.
  • Ignoring brake light switch alignment: Can result in malfunctioning brake lights.
  • Using the wrong-sized brake lever: Ensure the aftermarket lever is compatible with your CBR150R model year.

FAQs

1. Can I install an aftermarket brake lever myself?

Yes, installing an aftermarket brake lever is a simple process which can be accomplished with basic tools. It will give you the step-by-step instructions to complete the installation without any issues.

2. Should I change the brake lever after the installation?

It’s definitely a good idea to verify the lever’s free play and adjust it as necessary. Obviously, ergonomics are adjustable on most aftermarket levers.

3. What if, after installation, my brake light doesn’t work?

They will also be able to tell if your brake light doesn’t activate, and if so, if the brake light switch has been aligned. Check that the lever engages the switch correctly and adjust it as necessary.

4. How often should I lubricate my brake lever?

Lubricating the pivot points every few months is recommended to ensure smooth movement and prevent excessive wear.

5. Will installing an aftermarket lever affect my bike’s warranty?

However, you will depend on your warranty policy. How minor or major the alterations are in braking levers, brakes, and other such components won’t affect the overall validity of the warranty as long as the service is being done in an authorized dealer.

6. So, which type of brake lever should I buy?

Select the Honda CBR150R (2011 – 2020) lever type. They are better if their options can be adjusted for better comfort and control.

7. Can I use the same process to replace the clutch lever?

As such, yes, the process is similar for installing a clutch lever; however, after installation, don’t forget to adjust the clutch cable tension correctly.

Conclusion

Installing an aftermarket Honda CBR150R Front Brake Lever is a very simple procedure that’ll add more aesthetics and performance. By following this guide, you should be able to install it professionally without having expert help. You now get better braking control and a customized ride experience!

(Commenting: OFF)

Or login with your social account